
📘 Preface
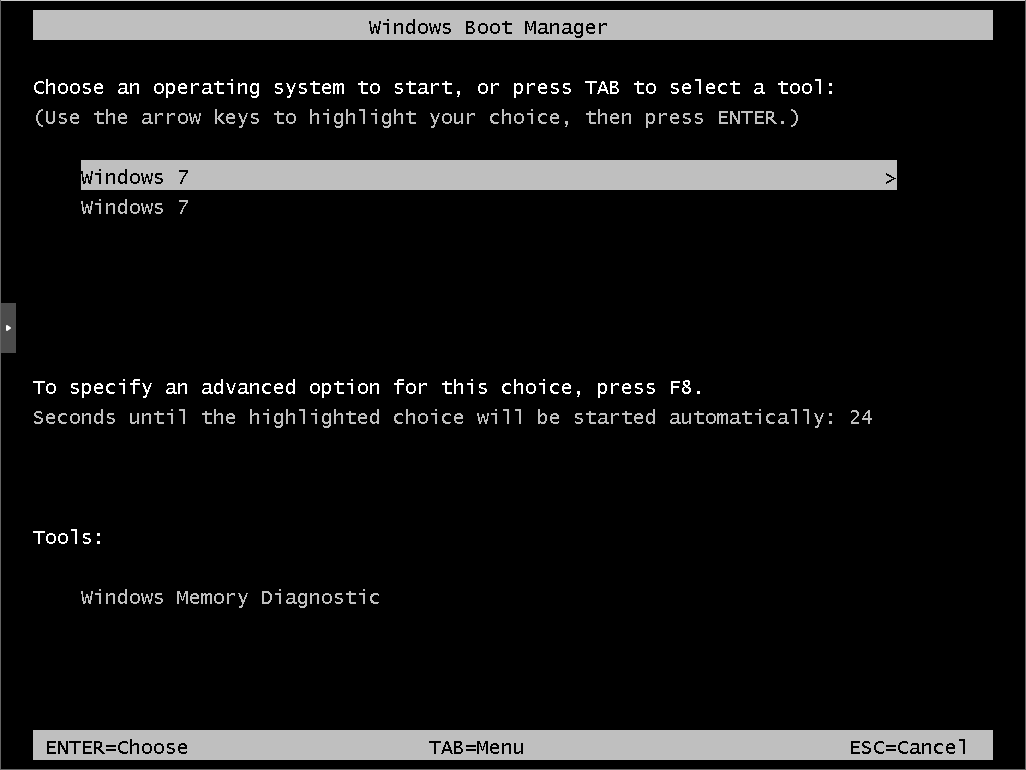
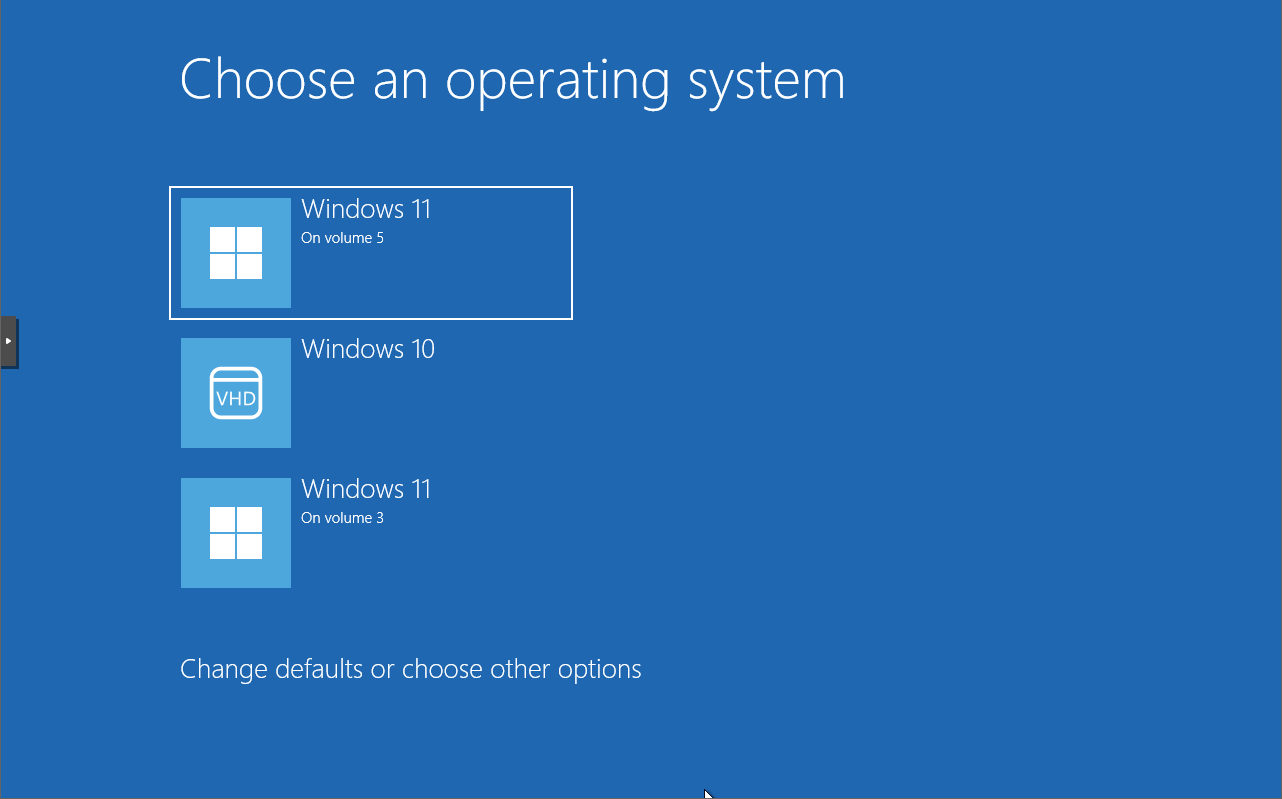
Running multiple versions of Windows on one machine is easier with no partitioning, more flexible with VHD/VHDX, and native boot.
This guide both GUI and command-line methods for easy setup.
🔧 Required Tools :
- DISM++: Lightweight deployment tool for Windows.
- Windows ISO files: For Windows 7, 10, and 11.
📦 Multiboot Configuration
| OS | VHD Path | Boot Mode |
|---|---|---|
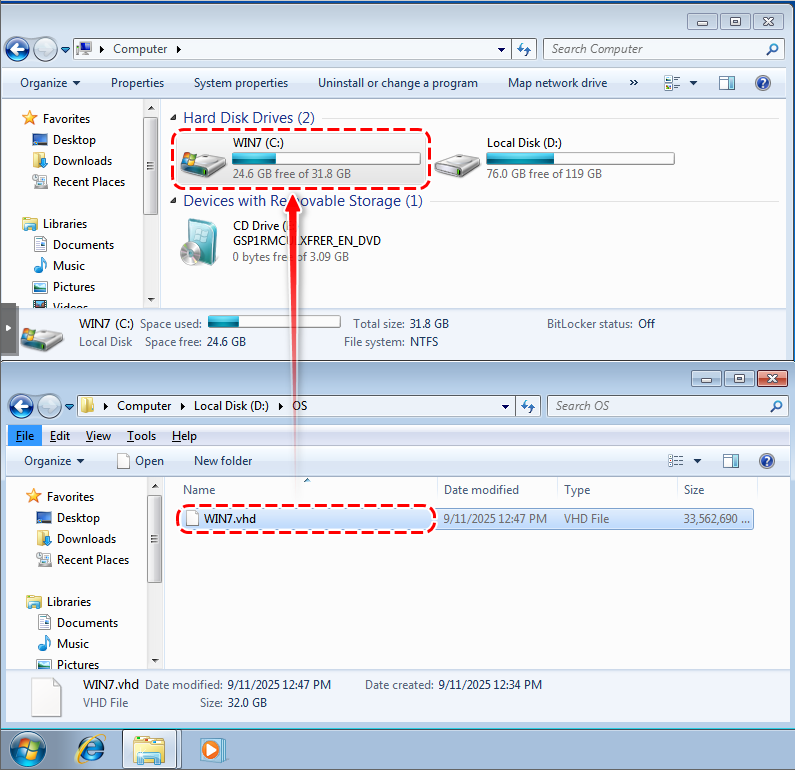
| Windows 7 | C:\OS\Win7.vhd | UEFI |
| Windows 10 | C:\OS\Win10.vhdx | UEFI |
| Windows 11 | C:\OS\Win11.vhdx | UEFI |
Installation Guide (GUI)
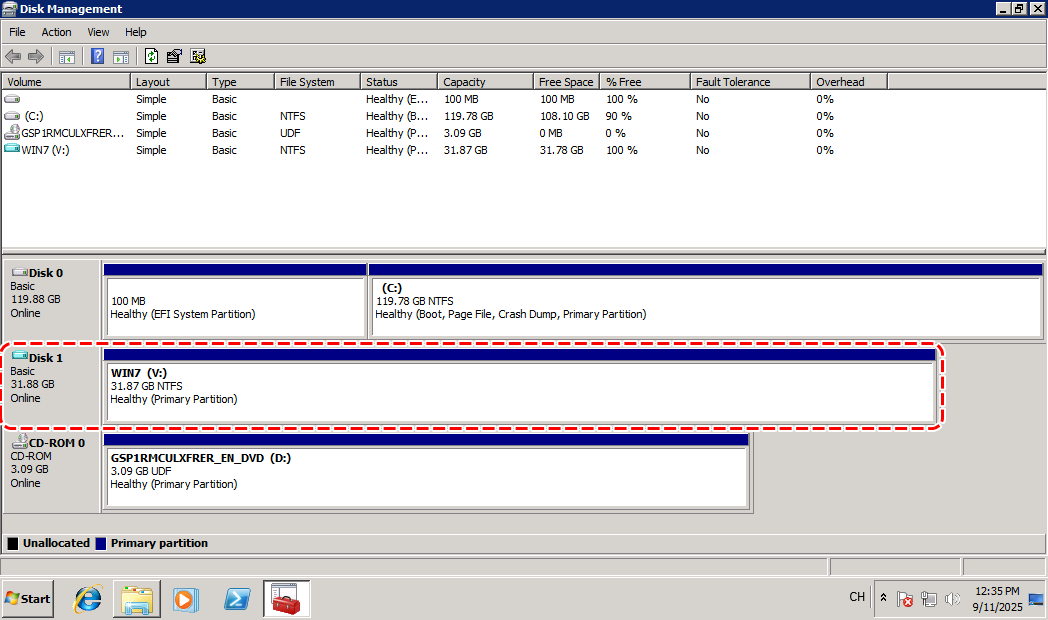
📁 1. Create VHDs
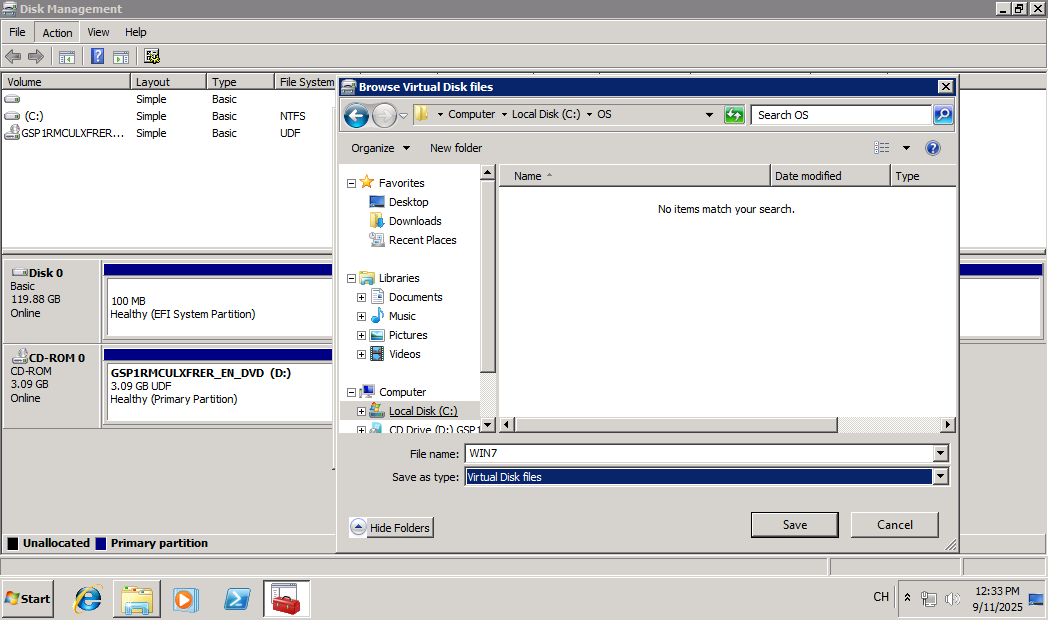
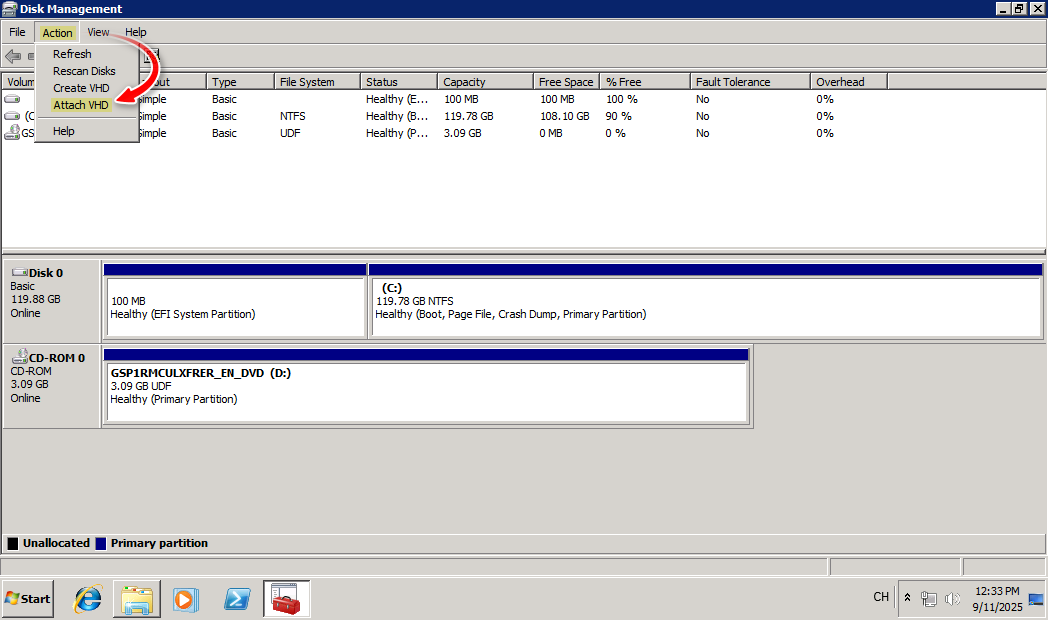
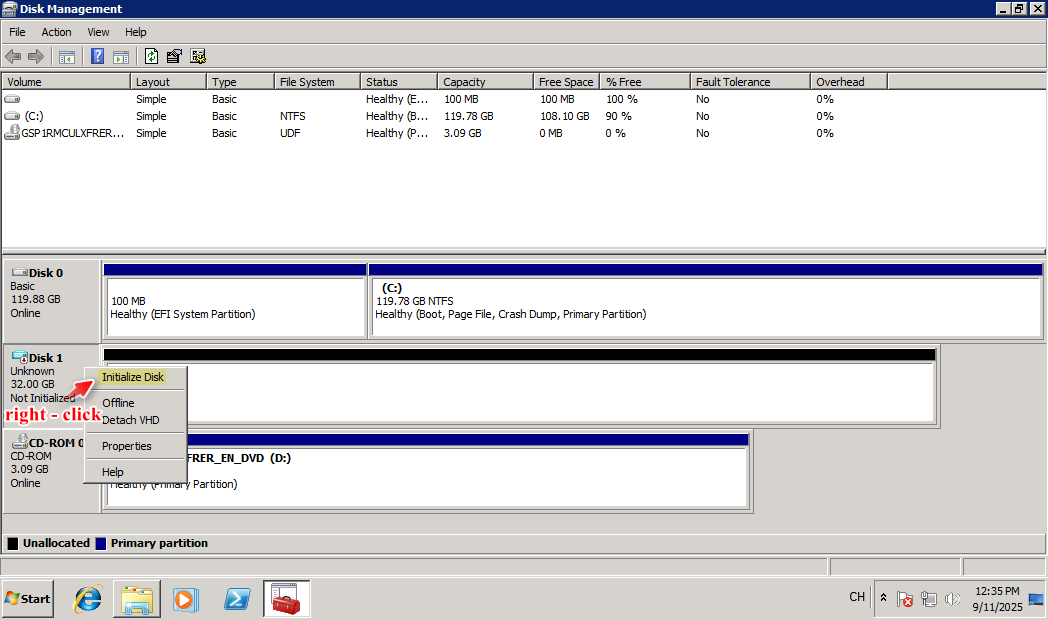
Use Disk Management to create and attach VHDs:
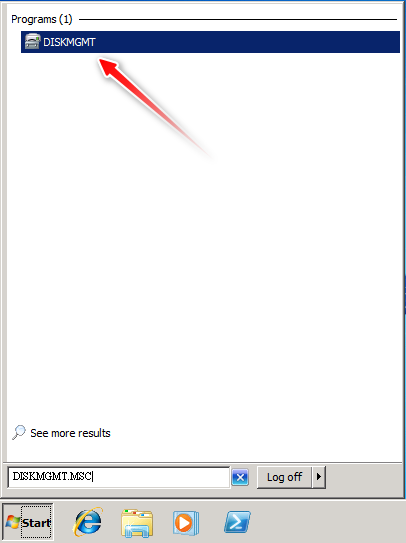
Open Disk Management.
Create a new VHD (VHD for Windows 7, VHDX for Windows 10/11).
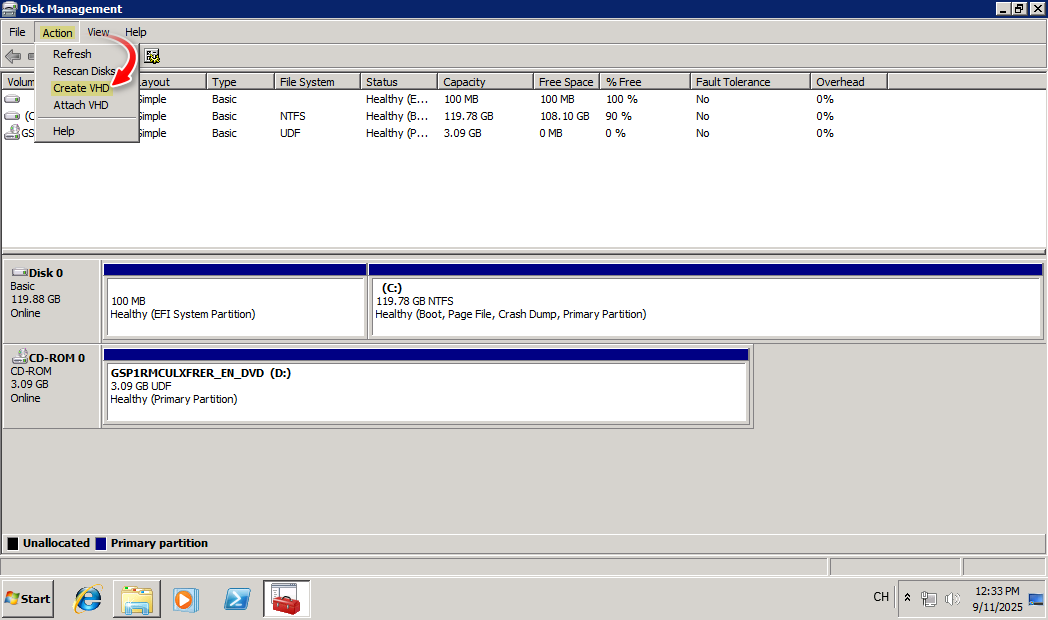

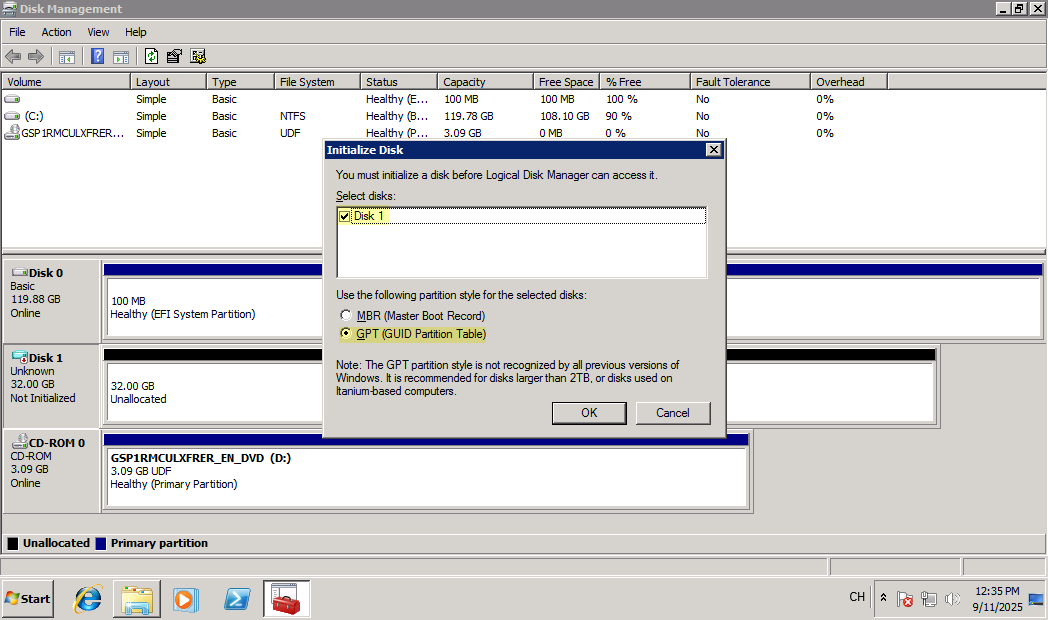
Attach the VHD and Initialize the disk using GPT.
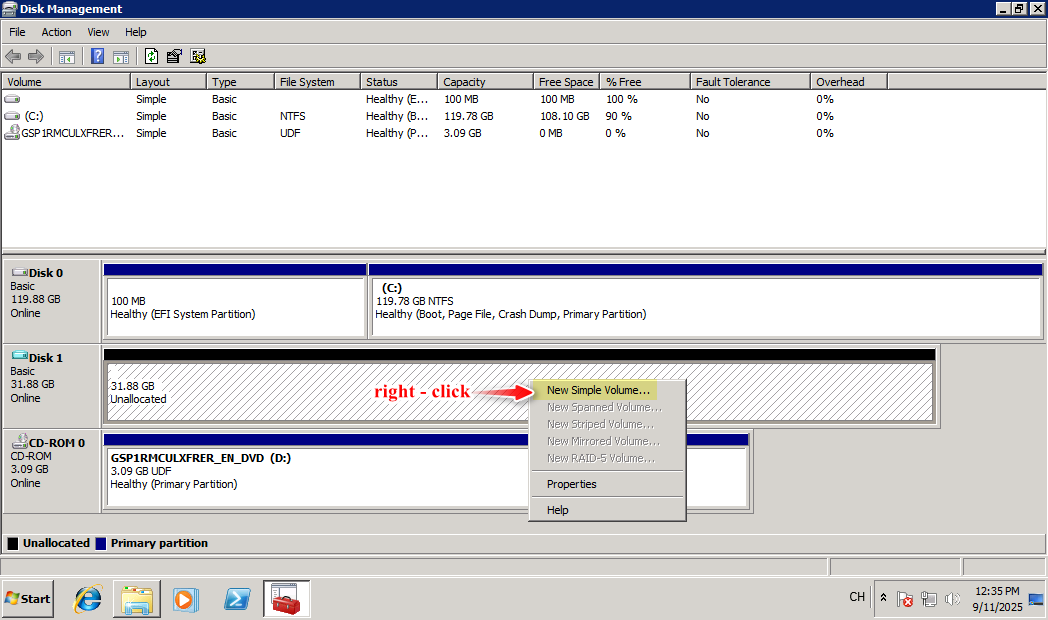
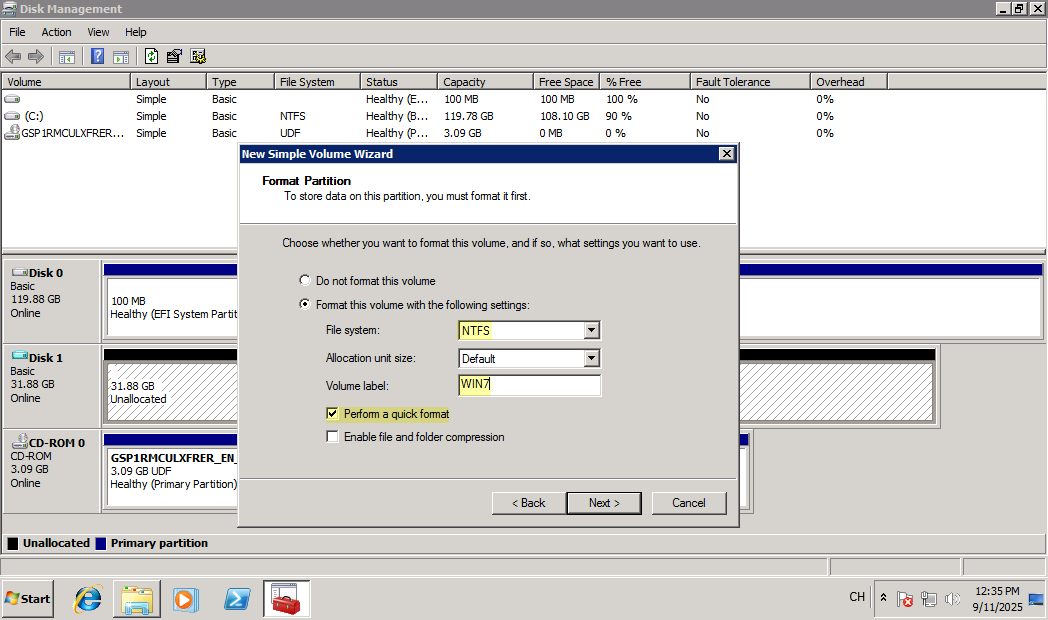
Create a new volume and format it as NTFS.
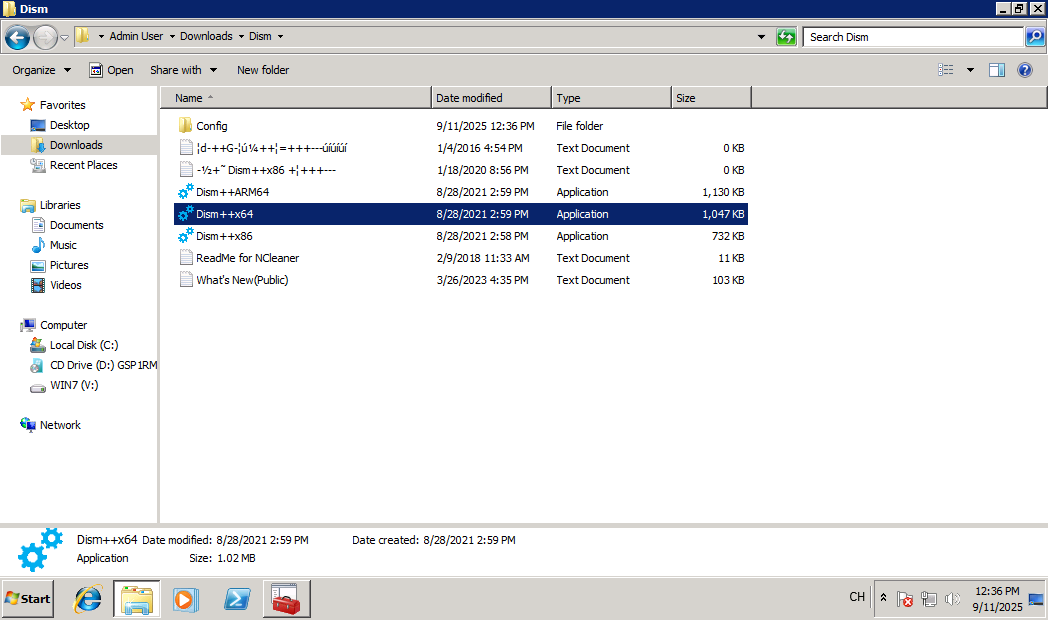
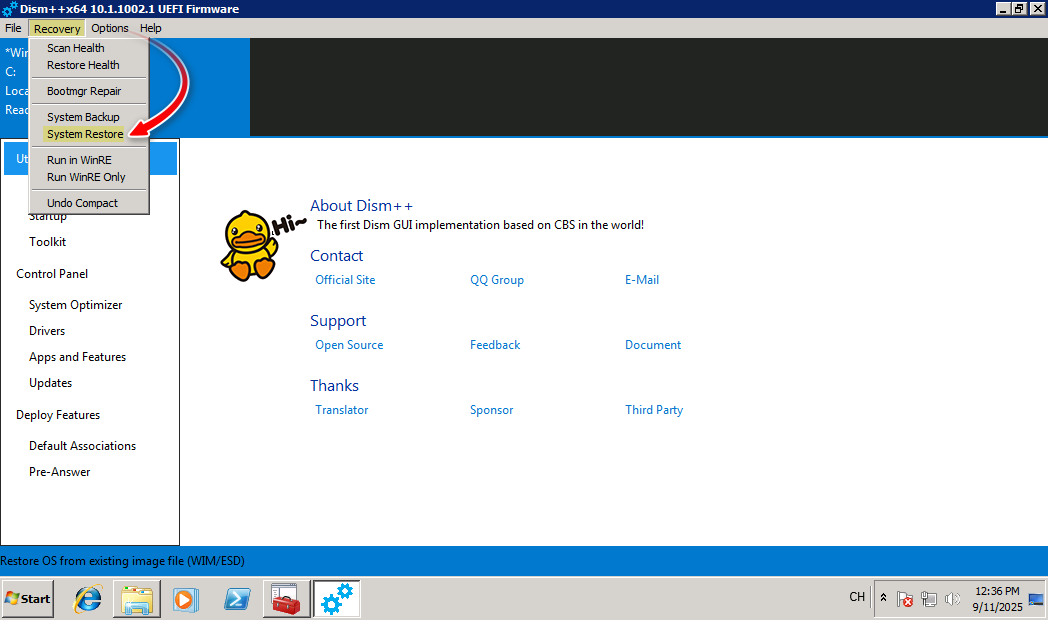
🧰 2. Apply Windows Image Using DISM++
- Launch DISM++ as Administrator.
- Go to
Recovery>System Restore.
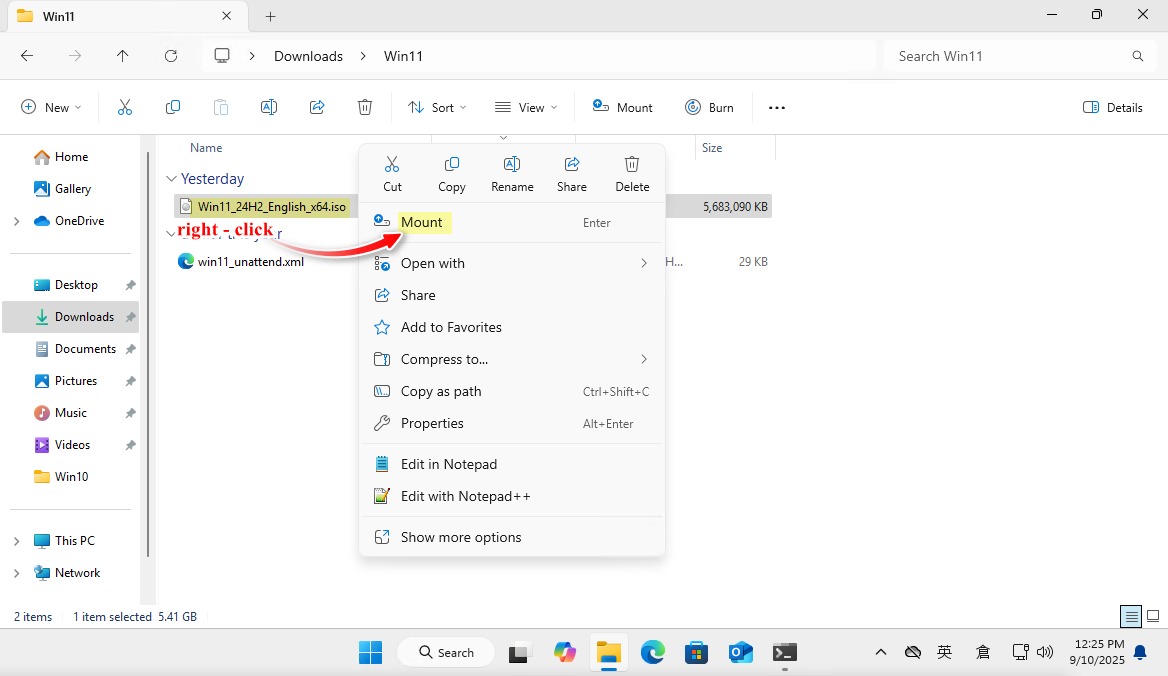
- Mount the Windows ISO and locate
install.wim(e.g.,D:\sources\install.wim). - Select Windows ISO’s
install.wim.
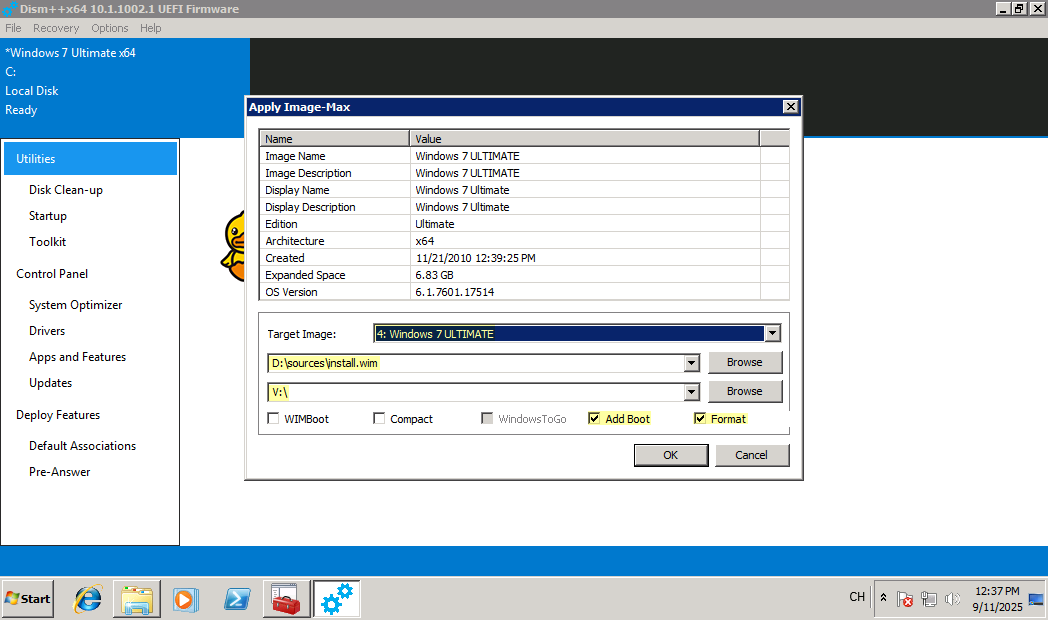
- Choose the Index that we want (e.g., Windows 7 ULTIMATE).
- Apply the image to the mounted VHD (e.g.,
V:). - Enable
Add BootandFormatoptions.
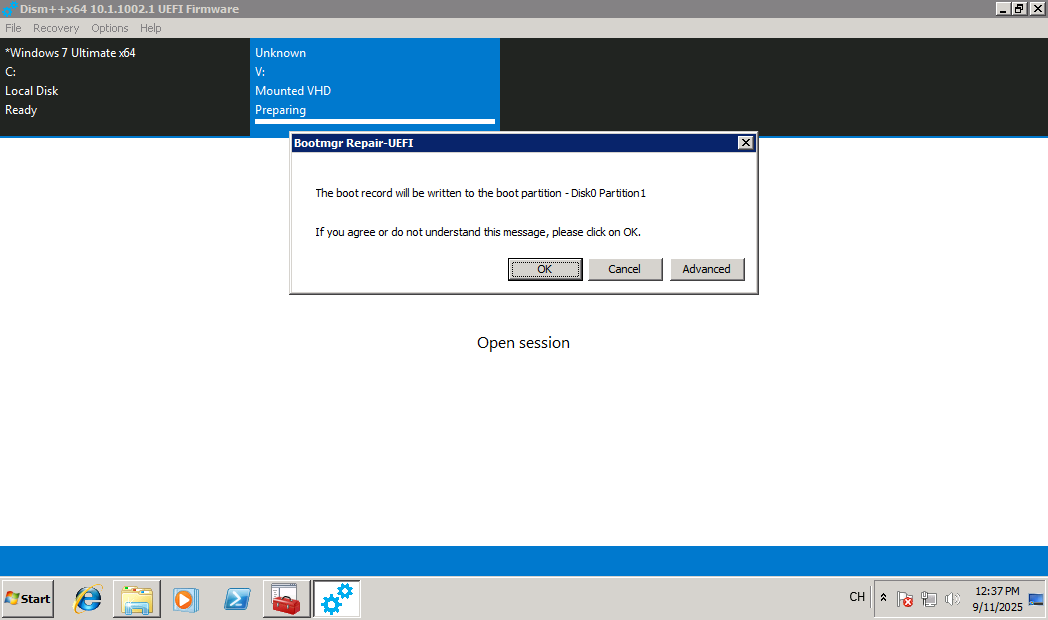
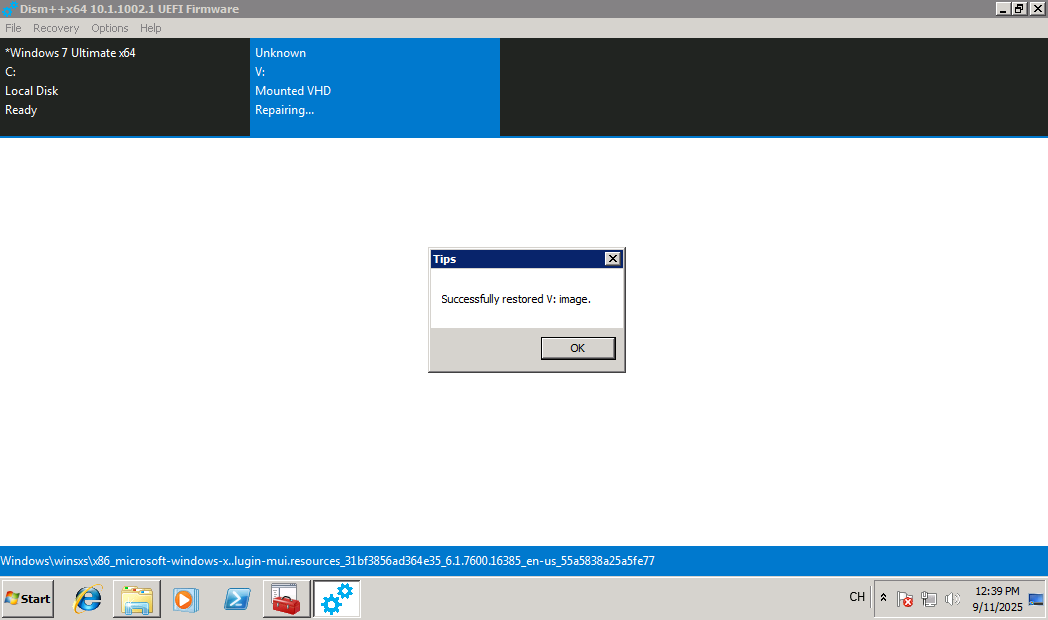
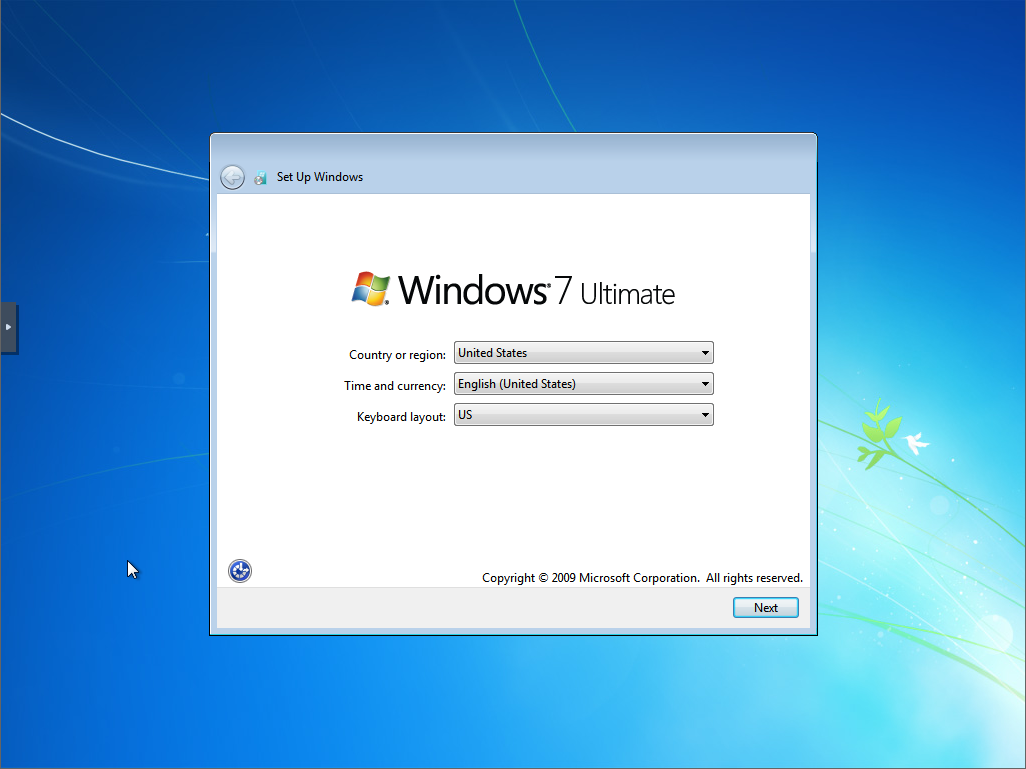
Repeat the process for each Windows version using separate VHDs.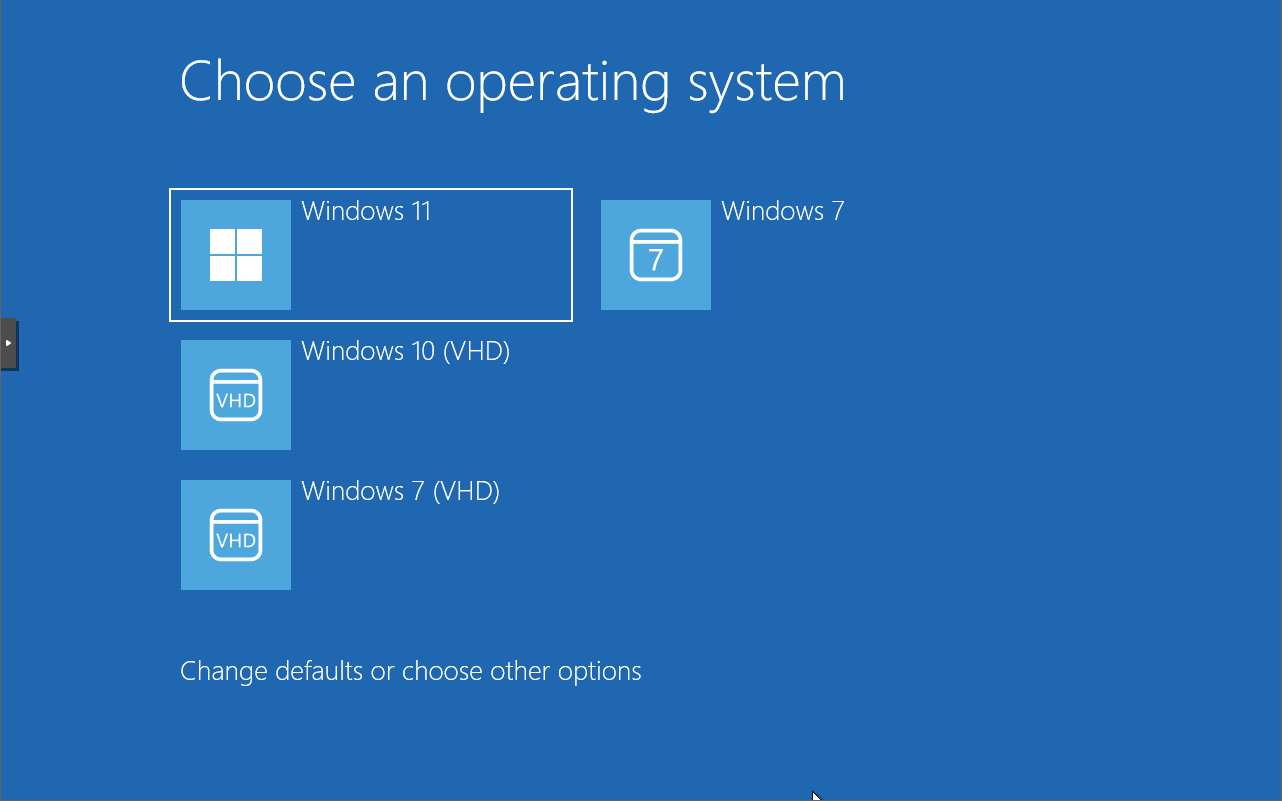

Installation Guide (command-line)
🔧 Required Tools:
- Windows ISO files (Windows 7, 10, 11)
🪟 Step 1: Create and Mount VHDX
- Creates a VHD folder
C:\OSto store the virtual hard disk (VHDX) file.
MKDIR C:\OS
💽 Step 2: Launch DISKPART and Create VHDX
# Starts the Disk Partition tool
DISKPART
# Create VHDX, Expanding, 50GB Storage
CREATE VDISK FILE=C:\OS\WIN11.VHDX MAXIMUM=51200 TYPE=EXPANDABLE
# Select and Attach the VHDX
SELECT VDISK FILE=C:\OS\WIN11.VHDX
ATTACH VDISK
# Initialize and format
CREATE PARTITION PRIMARY
ASSIGN LETTER=V
FORMAT QUICK FS=NTFS LABEL=WIN11
EXIT
📁 Step 2: Apply Windows Image Using DISM
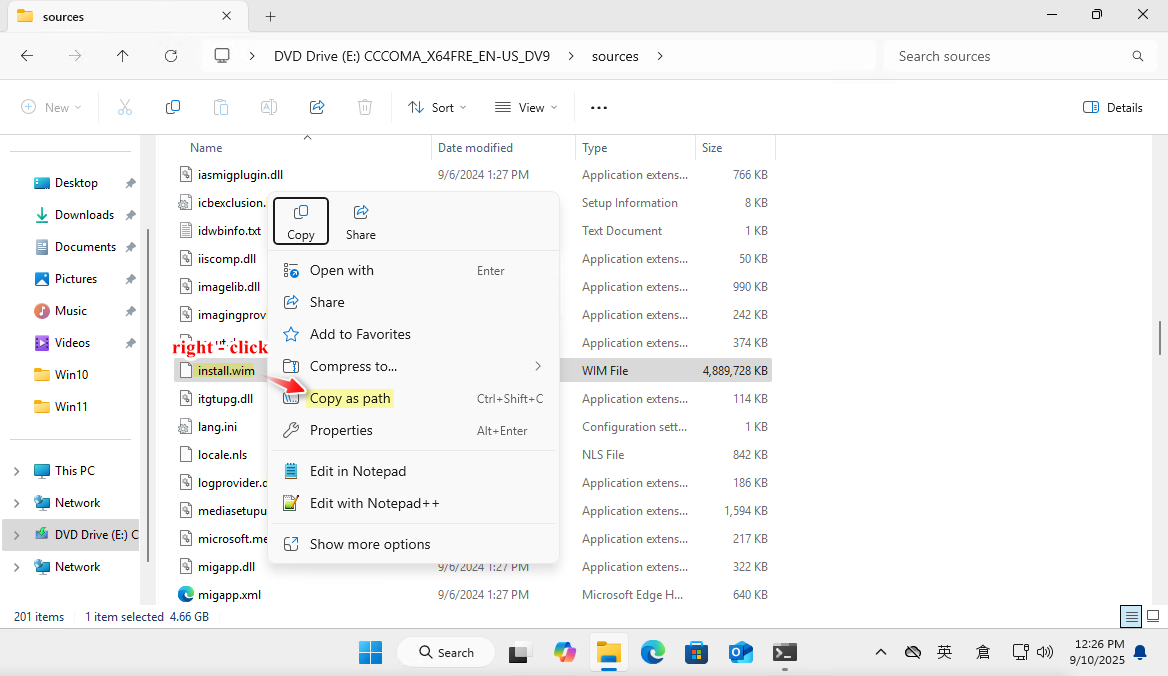
Mount the Windows ISO
locate install.wim , then Copy as path (e.g. “E:\sources\install.wim”)
📦 Check Available Windows 11 Editions in WIM File
DISM /GET-IMAGEINFO /IMAGEFILE:"E:\sources\install.wim"
🗂️ Available Windows 11 Editions
| Index | Edition Name |
|---|---|
| 1 | Windows 11 Home |
| 2 | Windows 11 Home N |
| 3 | Windows 11 Home Single Language |
| 4 | Windows 11 Education |
| 5 | Windows 11 Education N |
| 6 | Windows 11 Pro |
| 7 | Windows 11 Pro N |
| 8 | Windows 11 Pro Education |
| 9 | Windows 11 Pro Education N |
| 10 | Windows 11 Pro for Workstations |
| 11 | Windows 11 Pro N for Workstations |
🧩 Apply the desired edition (e.g., Windows 11 Education):
dism /Apply-Image /ImageFile:E:\Sources\install.wim /Index:4 /ApplyDir:V:\
- Applies Windows 11 Education (Index 4) to the
V:drive.
DISM /APPLY-IMAGE /IMAGEFILE:"E:\sources\install.wim" /INDEX:4 /APPLYDIR:"V:" /APPLY-UNATTEND:"C:\Users\User\Downloads\Win11\win11_unattend.xml"
- Optionally, Uses an unattended setup XML file to automate installation settings (e.g., region, user account, license key etc.).
⚙️ Step 3: Make VHDX Bootable
bcdboot V:\Windows
- This command copies boot files and registers the VHD for native boot.
🧪Conclusion
Setting up native boot with VHDs is a clean and flexible way to run multiple versions of Windows on the same machine. With tools like DISM++ and a bit of command-line work, each system can be installed and managed independently—no virtualization needed. It’s fast, efficient, and ideal for testing, development, or just keeping things organized.
For best results, keep the VHDs on an SSD or M.2 and enjoy the simplicity of switching between full Windows environments with just a reboot.