About
Recently, I wanted to automate the creation of a Synology DSM VM on my Proxmox VE server. This saves time compared to manually going through the steps in the Proxmox GUI.
Note: This is for homelab test only. Do not use it for production.
Deploy VM on PVE (Walkthrough)
- Make the script asks for a VMID to use for the new VM. It checks if a VM with that ID already exists, and offers to delete it if needed.
read -p "Enter Virtual Machine ID for Synology DSM install: " VMID

if qm status $VMID &> /dev/null
then
  # Offer to delete existing VM
fi
- Install unzip if it is not already present, as we’ll need it to extract the VM image later:
if ! command -v unzip &> /dev/null; then
  apt install unzip -y
fi
- Grabs the latest DSM loader image release from the GitHub API:
version=$(curl -s https://api.github.com/repos/fbelavenuto/arpl/releases/latest | grep -oP '"tag_name": "\K(.*)(?=")')
Specify the newversion for URL
newversion=${version:1}
- It constructs a download URL using that newversion, downloads and unzips the image:
Set up Image Directory Path
image_folder="/var/lib/vz/template/iso/"
Gather the loader image and unzips to the specify folder:
url="https://github.com/fbelavenuto/arpl/releases/download/$version/arpl-$newversion.img.zip"

wget $url
unzip "arpl-$newversion.img.zip" -d $image_folder
rm "arpl-$newversion.img.zip"
- create the VM with
qm create, using the VMID provided earlier:
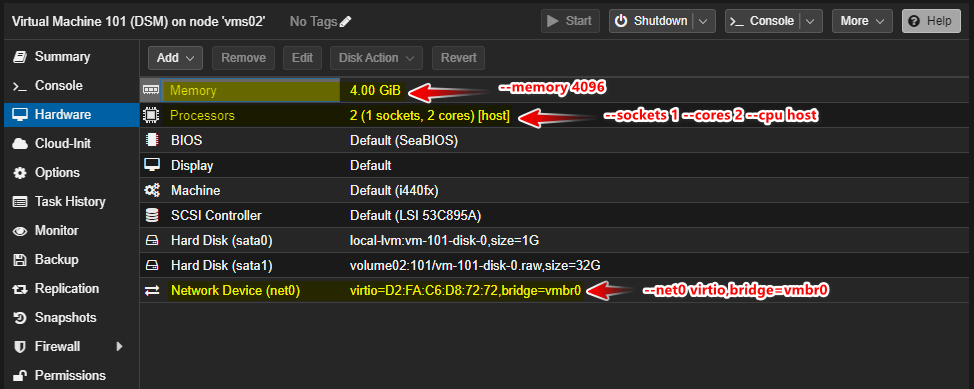
qm create "$VMID" \
  --name DSM \
  --memory 4096 \
  --sockets 1 \
  --cores 2 \
  --cpu host \
  --net0 virtio,bridge=vmbr0 \
  --ostype l26
| Command | Description |
|---|---|
| qm create “$VMID” | This uses the qm (qemu manager) command to create a VM with the ID stored in the $VMID variable. |
| –name DSM | Names the VM “DSM”. |
| –memory 4096 | Allocates 4GB of RAM to the VM. |
| –sockets 1 –cores 2 | Assigns 1 socket and 2 cores to the VM. |
| –cpu host | Uses the host CPU type for the VM. |
| –net0 virtio,bridge=vmbr0 | Attaches a VirtIO network interface to the vmbr0 bridge. |
| –ostype l26 | Specifies the OS type as newer Linux kernel. |
- imports the image (loader) downloaded previously as the boot disk:
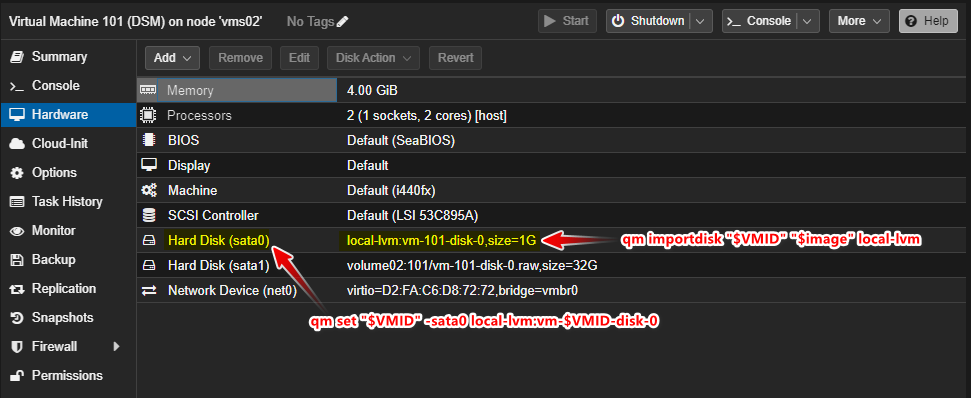
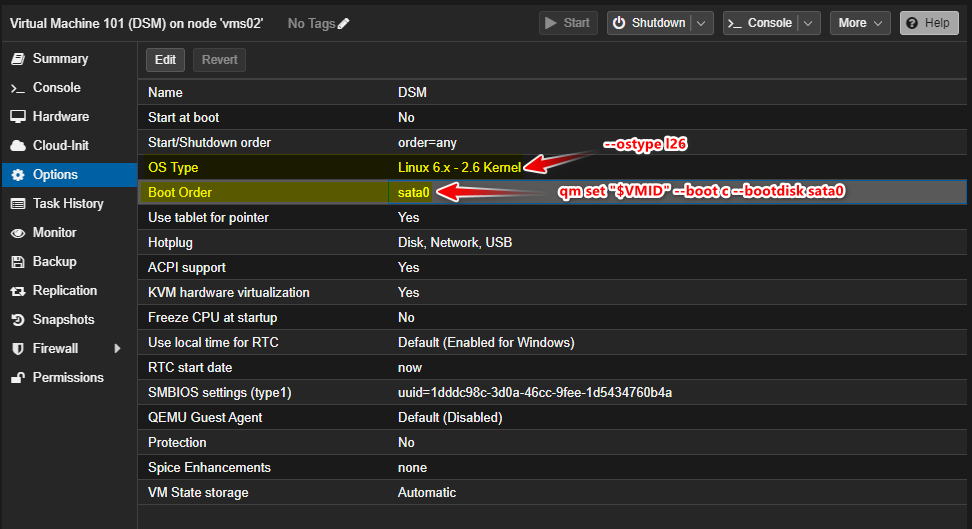
image="/var/lib/vz/template/iso/arpl.img
qm importdisk "$VMID" "$image" local-lvm
qm set "$VMID" -sata0 local-lvm:vm-$VMID-disk-0
qm set "$VMID" --boot c --bootdisk sata0
| Command | Description |
|---|---|
| qm importdisk “$VMID” “$image” local-lvm | Imports a disk image file specified by $image to the local-lvm storage, assigning the ID stored in $VMID to the VM. |
| qm set “$VMID” -sata0 local-lvm:vm-$VMID-disk-0 | Sets the local-lvm storage as the source for the SATA controller at port 0, assigning the disk ID to vm-$VMID-disk-0. |
| qm set “$VMID” –boot c –bootdisk sata0 | Sets the boot order for the VM to boot from the disk attached to the SATA controller at port 0 (sata0) and sets the boot device to the first partition of that disk (c). |
- also attaches a blank volume for extra storage:
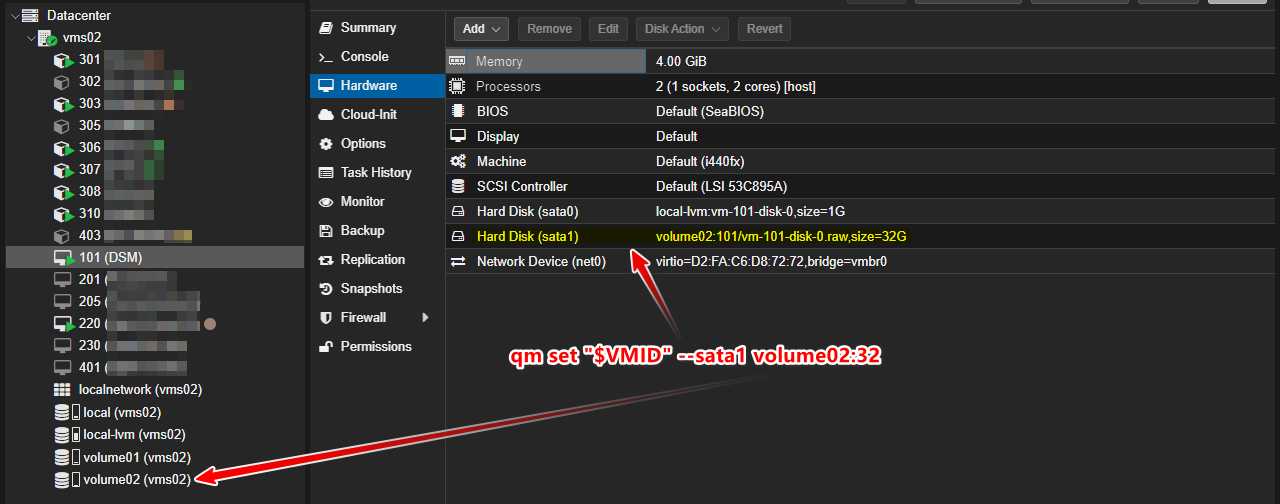
qm set "$VMID" --sata1 volume02:32
| Command | Description |
|---|---|
| qm set “$VMID” –sata1 volume02:32 | Sets the volume02 storage as the source for the SATA controller at port 1, assigning the disk size to 32GB. |
- Finally, the VM is started:
qm start "$VMID"
The full content of the script
#!/bin/bash
#
# Script name: pve-dsm.sh
# Author: King Tam
# Website: https://kingtam.eu.org
# Date: July 7, 2023
# Purpose: Automatic creation of DSM VM on Proxmox VE.
#

set -e

# Ask for VMID
read -p "Enter Virtual Machine ID for Synology DSM install: " VMID

# Check if VMID already exists
if qm status $VMID &> /dev/null
then
    read -p "VM $VMID already exists. Do you want to remove it? (y/n) " choice
    case "$choice" in
        y|Y )
            qm stop $VMID
            qm destroy $VMID
            echo "VM $VMID has been removed."
            ;;
        * )
            echo "Please enter a different VMID."
            exit 1
            ;;
    esac
fi

# Check if unzip is installed, install if not
if ! command -v unzip &> /dev/null; then
    echo "unzip could not be found, installing..."
    apt install unzip -y
fi

# Get latest release version from GitHub API
version=$(curl -s https://api.github.com/repos/fbelavenuto/arpl/releases/latest | grep -oP '"tag_name": "\K(.*)(?=")')
newversion=${version:1}

# Construct download URL using latest release version
url="https://github.com/fbelavenuto/arpl/releases/download/$version/arpl-$newversion.img.zip"

# Download and extract arpl image
wget $url
image_folder="/var/lib/vz/template/iso/"
unzip "arpl-$newversion.img.zip" -d $image_folder
rm "arpl-$newversion.img.zip"


# Create virtual machine
qm create "$VMID" --name DSM --memory 4096 --sockets 1 --cores 2 --cpu host --net0 virtio,bridge=vmbr0 --ostype l26

# Import arpl image as boot disk
image="/var/lib/vz/template/iso/arpl.img"
qm importdisk "$VMID" "$image" local-lvm
qm set "$VMID" -sata0 local-lvm:vm-$VMID-disk-0
qm set "$VMID" --boot c --bootdisk sata0

# Add a new SATA disk to the virtual machine
qm set "$VMID" --sata1 volume02:32

# Start the virtual machine
qm start "$VMID"
Configuring the Loader
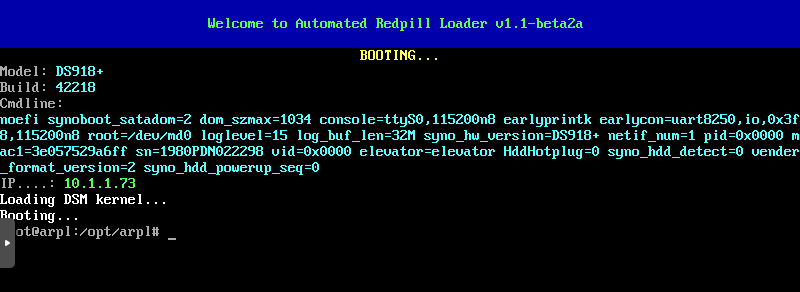
The loader (Automated Redpill Loader) automatically detects which device is being used, SATADoM or USB, detecting its VID and PID correctly.
Open VM Console by PVE
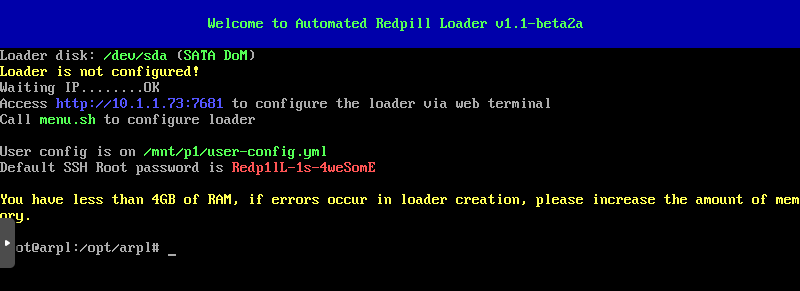
We can access the loader via a browser.
In this case that the URL is http://10.1.1.73:7681
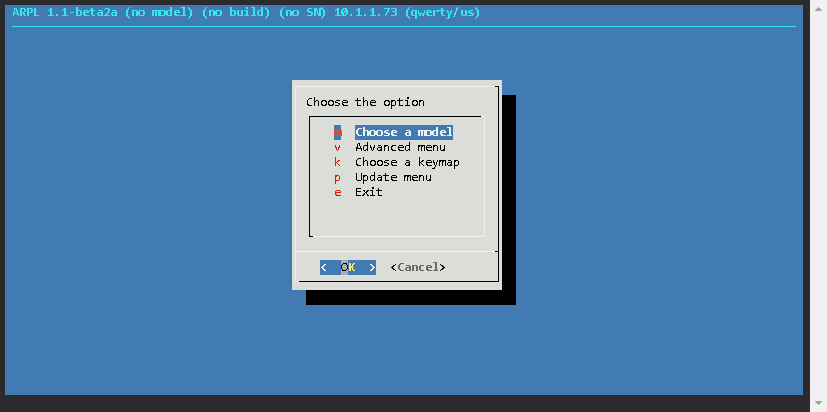
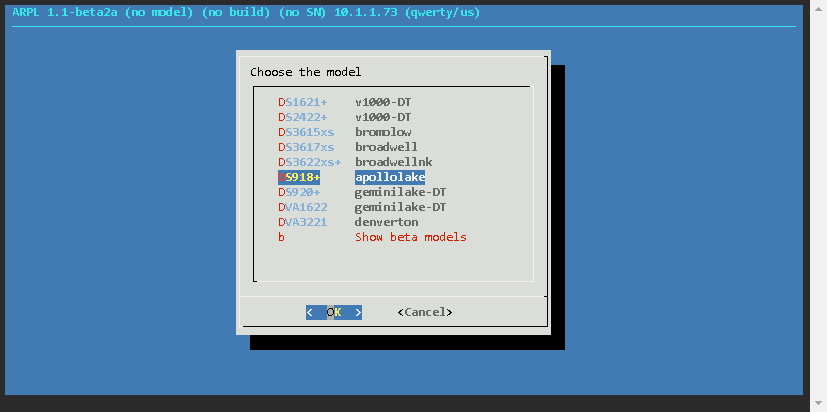
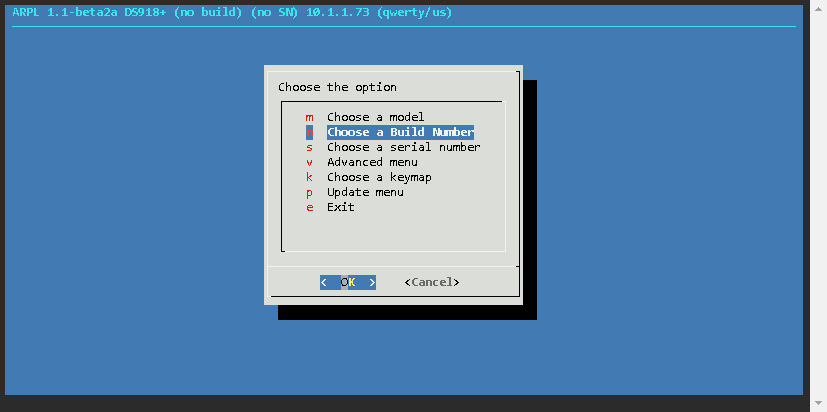
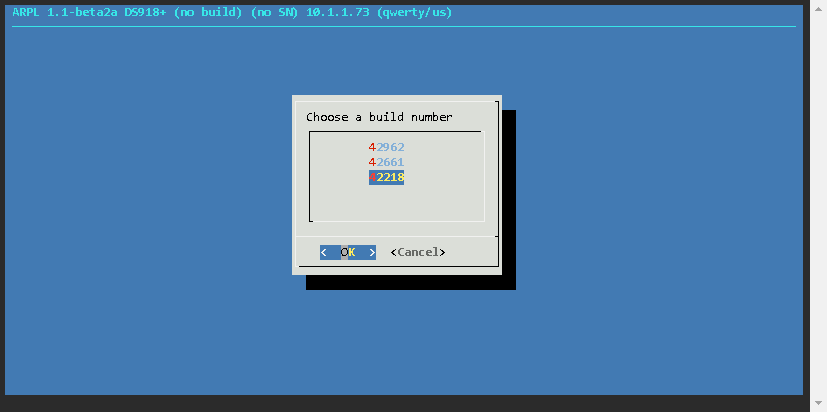
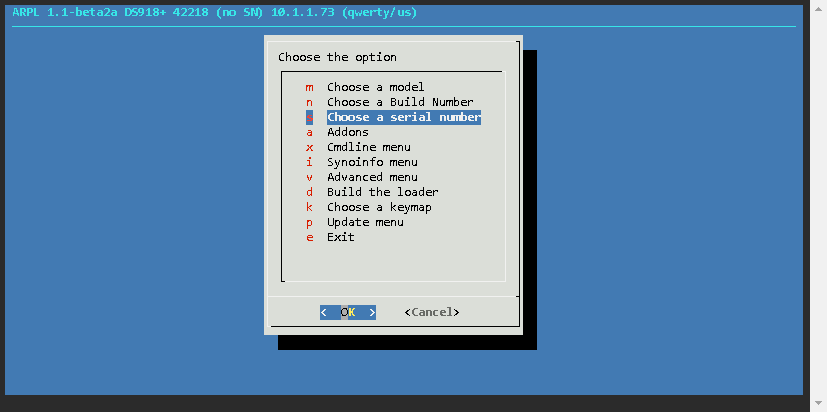
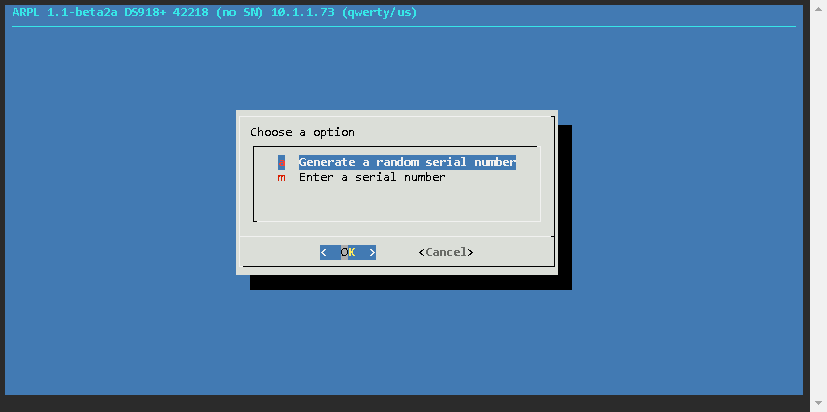
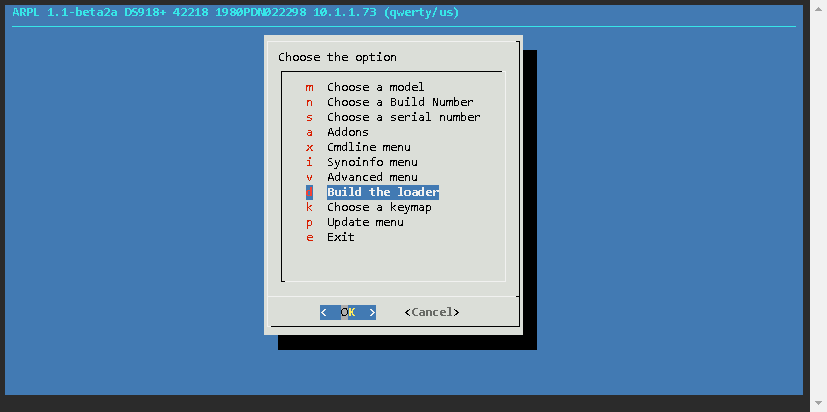
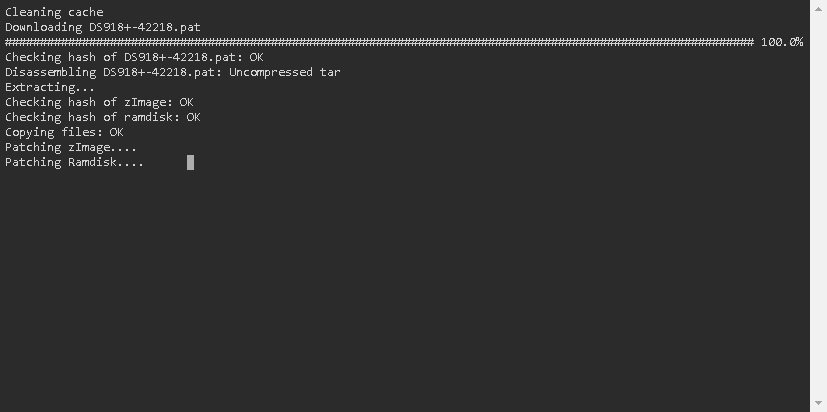
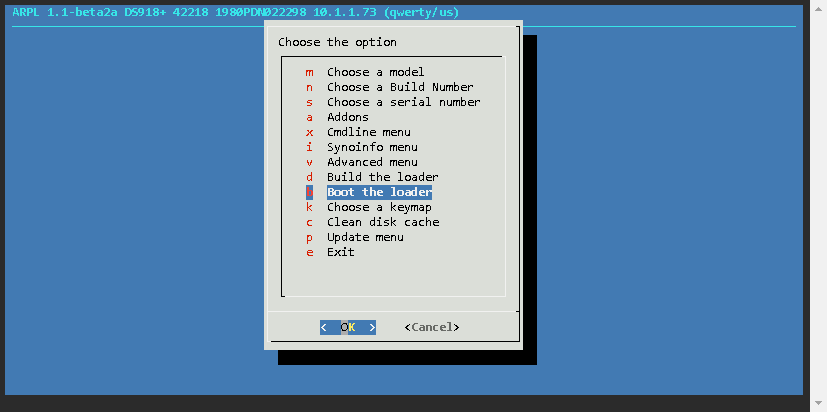
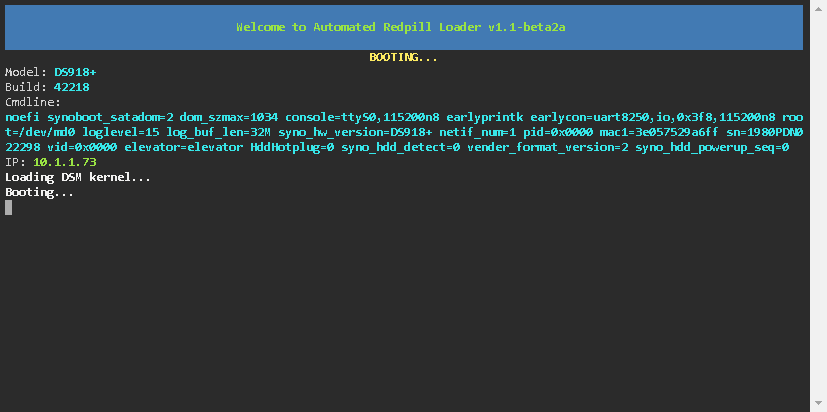
Now the loader has been built, and the details are as follows
| Option | Value |
|---|---|
| Model | DS918+ |
| Build Number | 42218 |
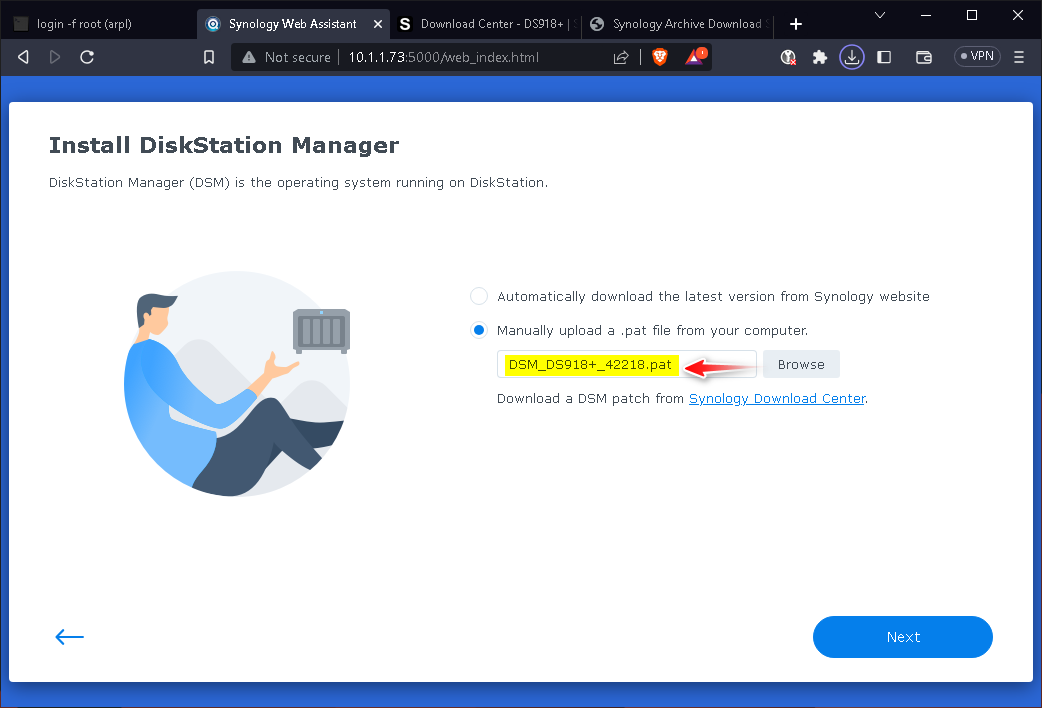
| IP | 10.1.1.73 |
Install DSM
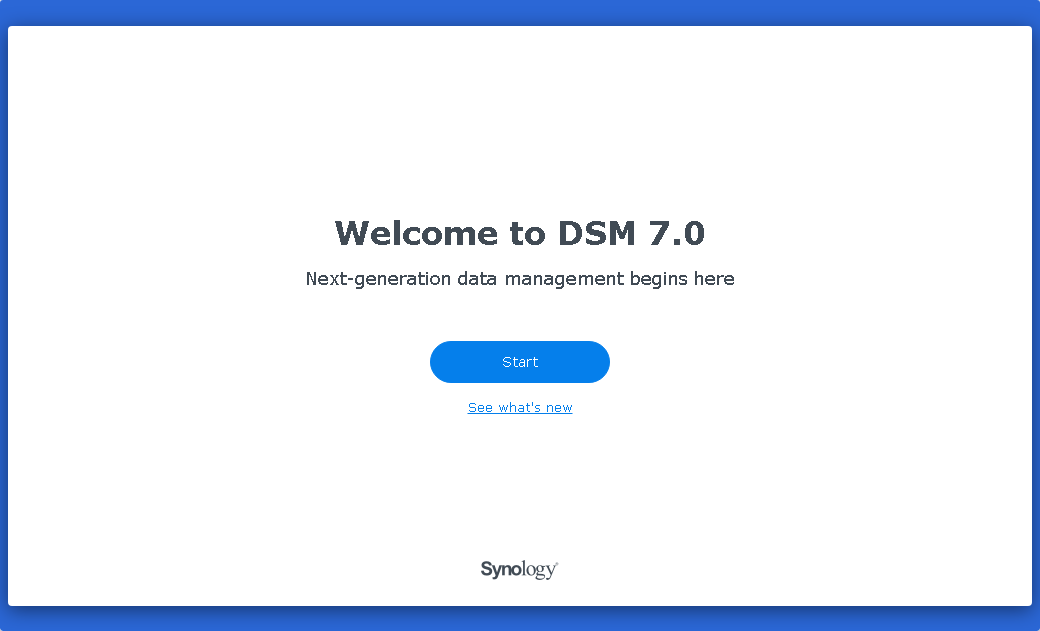
Install using a web browser.
Open a web browser on a computer and go to http://10.1.1.73:5000
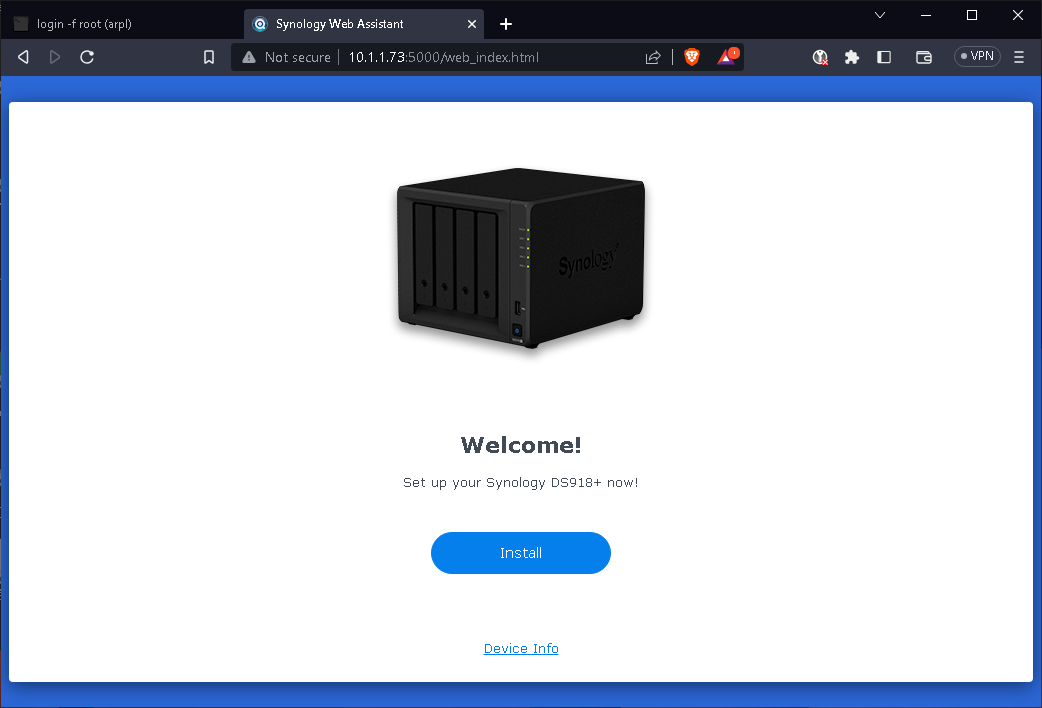
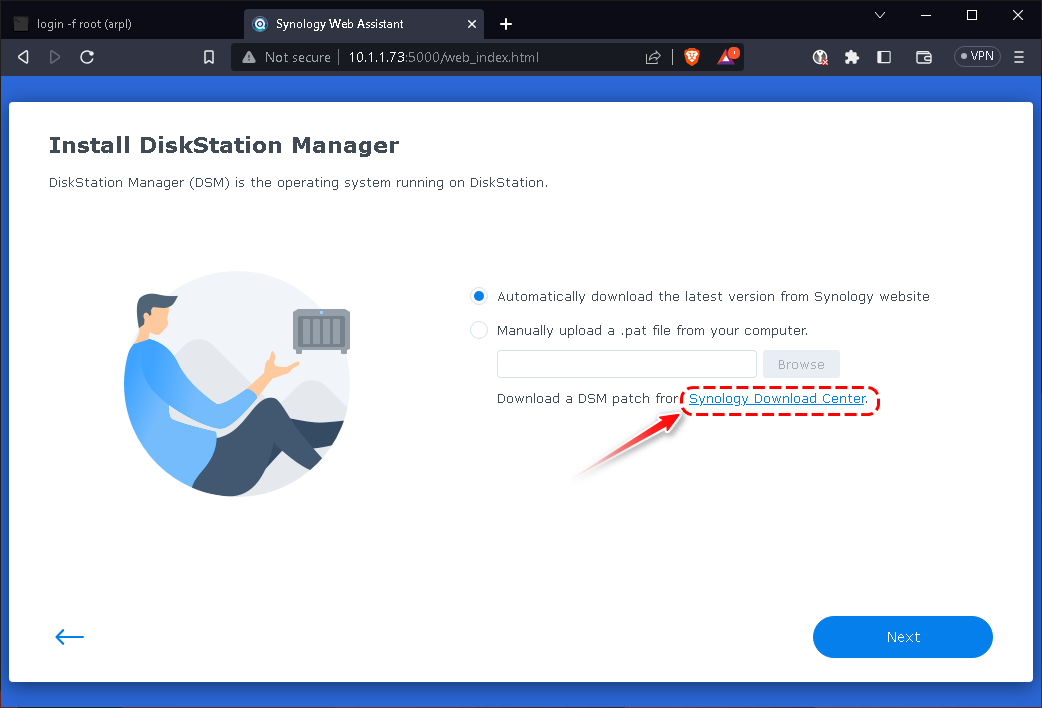
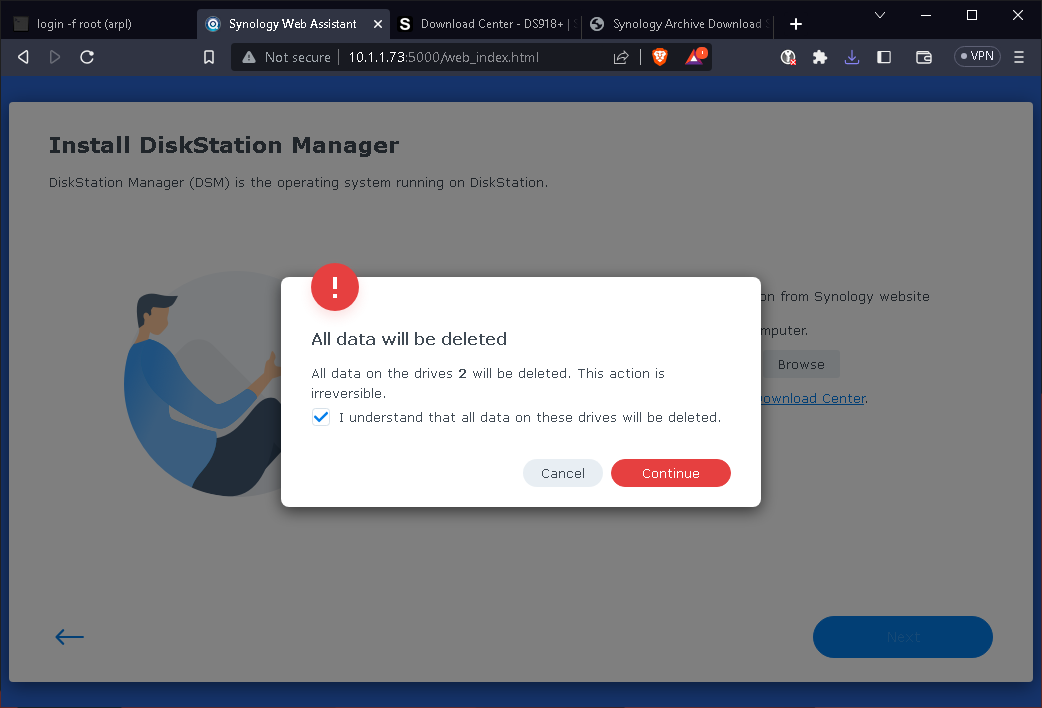
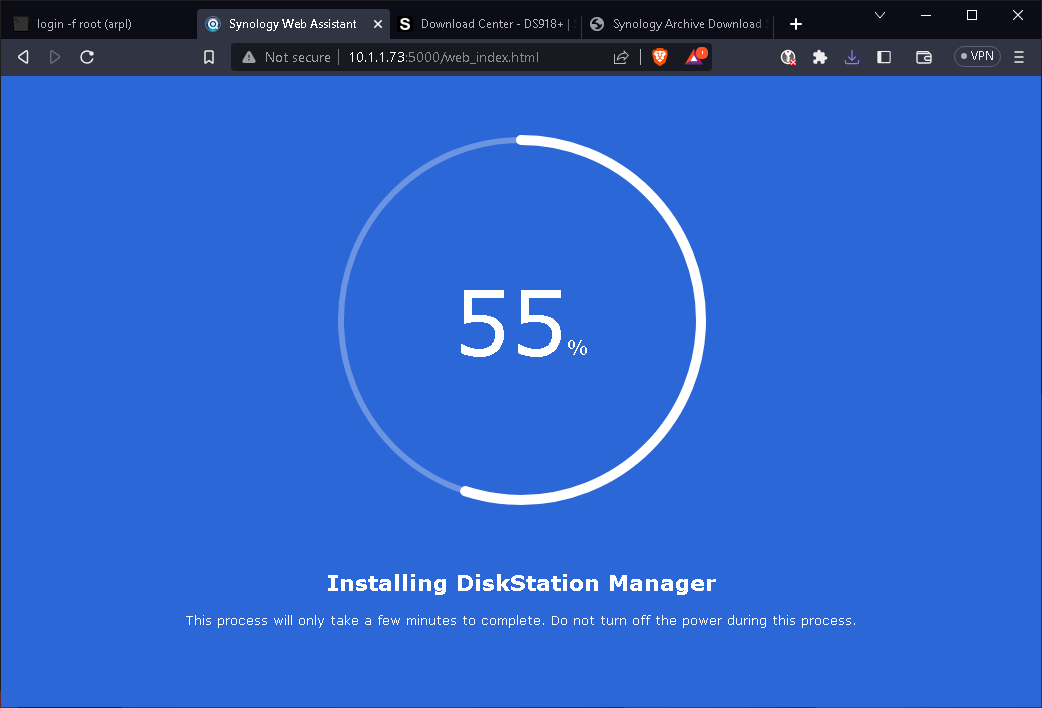
According to previous built information, then manual down the DSM OS via Download Center
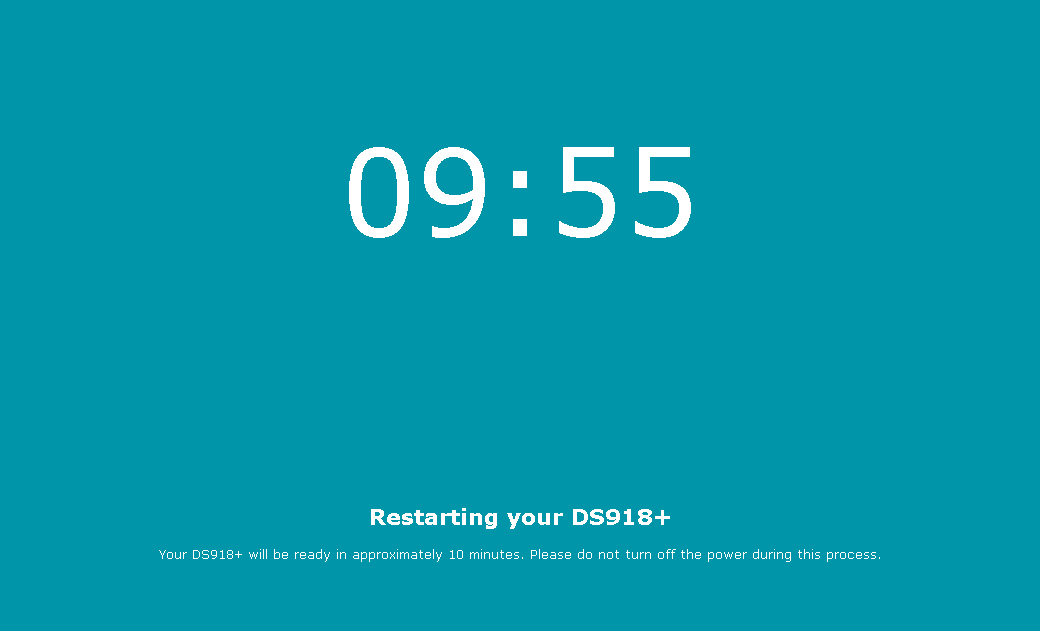
Conclusion
That’s it! The script now automatically creates a DSM VM on Proxmox VE, configured and ready to go. Finally, I greatly appreciate and thank fbelavenuto’s loader and Jun’s code.
