
Overview
In some situations, such as a system error or hard disk failure, Windows may not boot up properly and require a reinstallation. After reinstalling Windows, you might need to rejoin the computer to the domain.
This tutorial will guide through the process of re-linking the computer to the existing domain account, which is more convenient than manually deleting the existing computer account from the domain controller server.
Step-by-Step Procedure
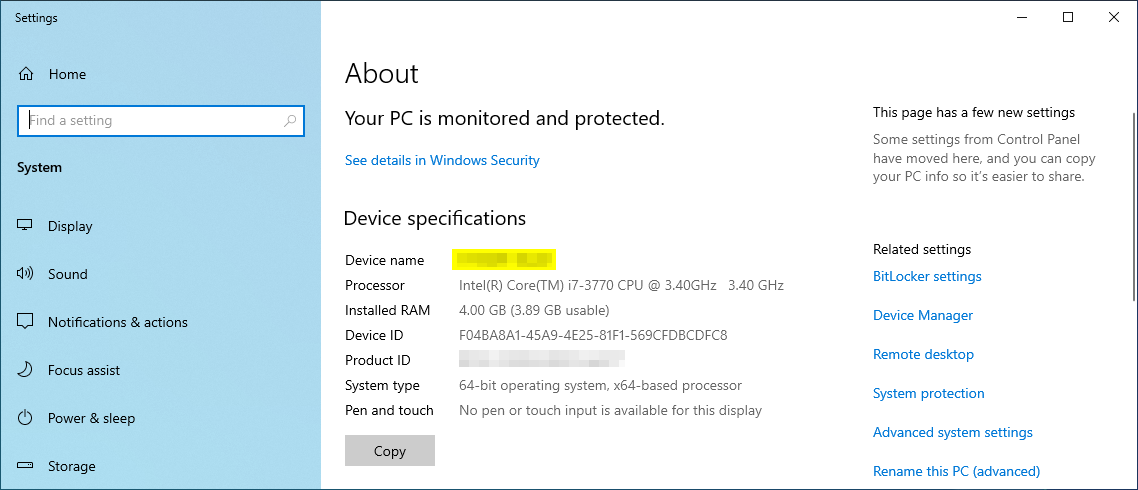
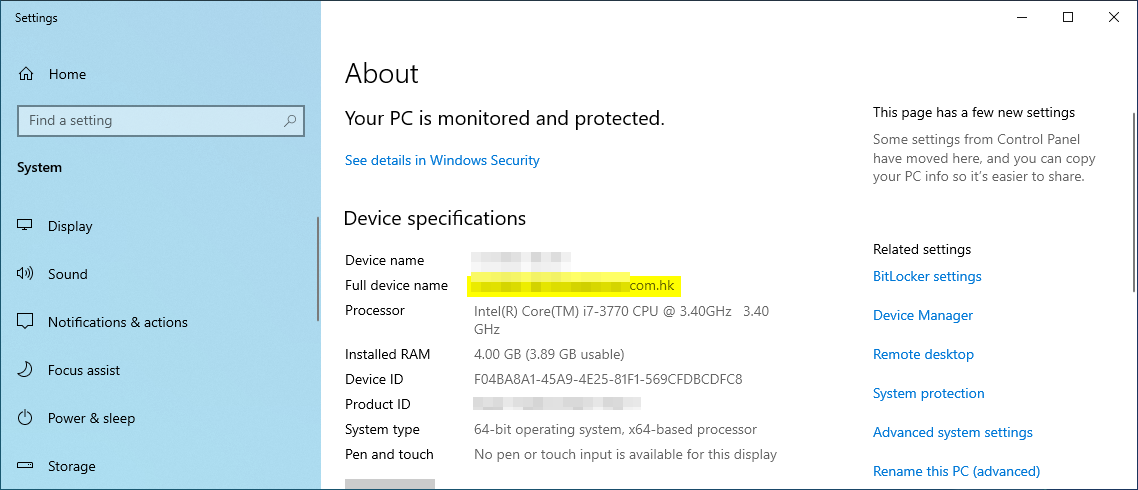
- Rename the PC according to the asset ID: Before rejoining the domain, ensure that the computer name matches the asset ID.
- Navigate to
System Properties>Computer Name>Network ID....
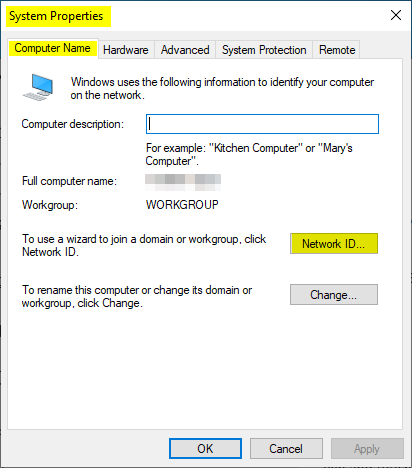
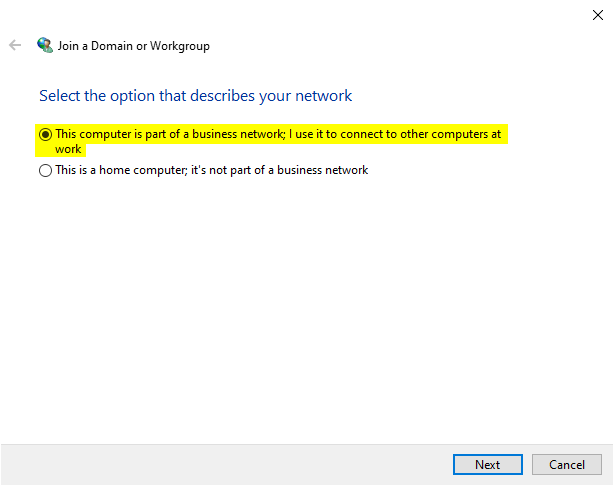
- Choose the network type: Select the option “
This computer is part of a business network; I use it to connect to other computers at work” and clickNext.
- Select the domain option: Choose “
My company uses a network with a domain” and clickNext.

- Click
Nextto continue.
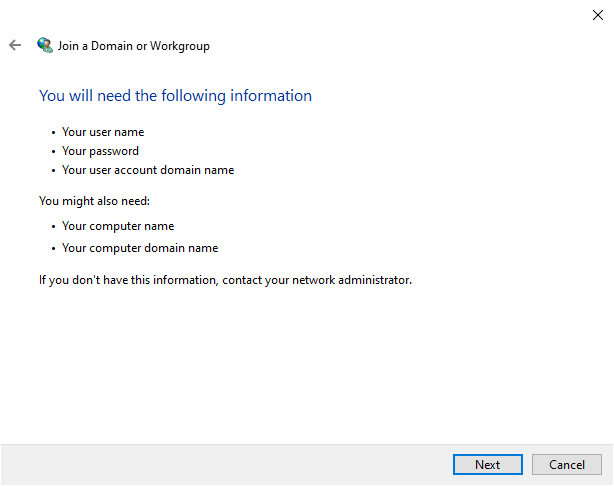
- Provide domain credentials: Enter the required privileged domain account credentials and click
Next.

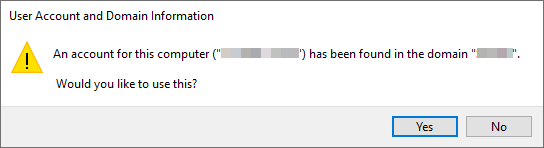
- Re-link the existing computer account: If the existing computer account is found in the domain, click
Yesto re-link it.
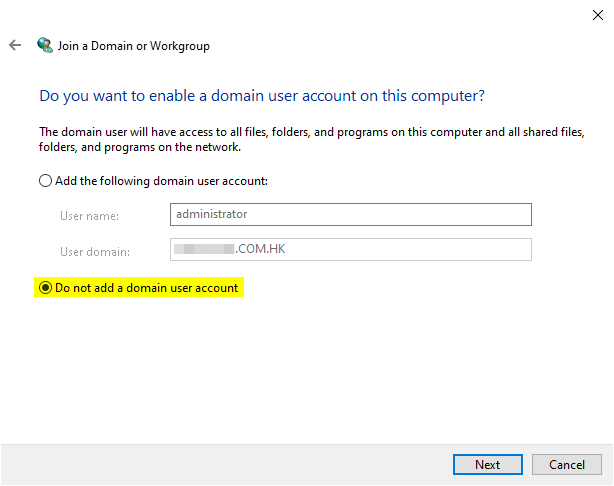
- Skip domain user account creation: Select “
Do not add a domain user account” and clickNext.
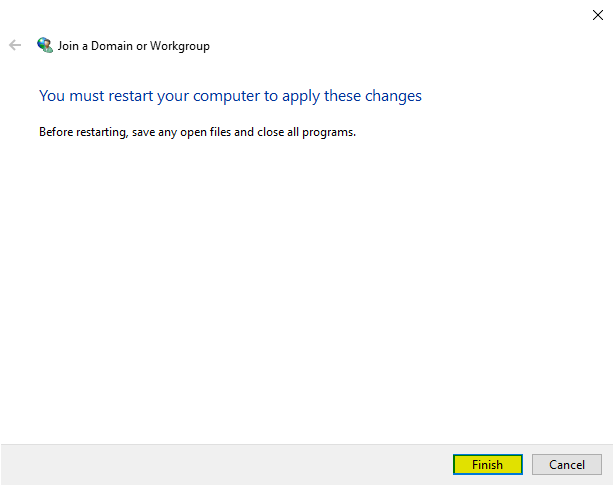
- Finish and reboot: Click
Finishand restart the computer.
- Complete the domain rejoining: After logging in again, the computer will have rejoined the domain.
Conclusion
By following the steps, you can conveniently rejoin a domain without having to access the domain controller server to delete the existing computer account.
This method provides an easier way to reconnect your computer to the domain after a system error or hard disk failure.